Hi,
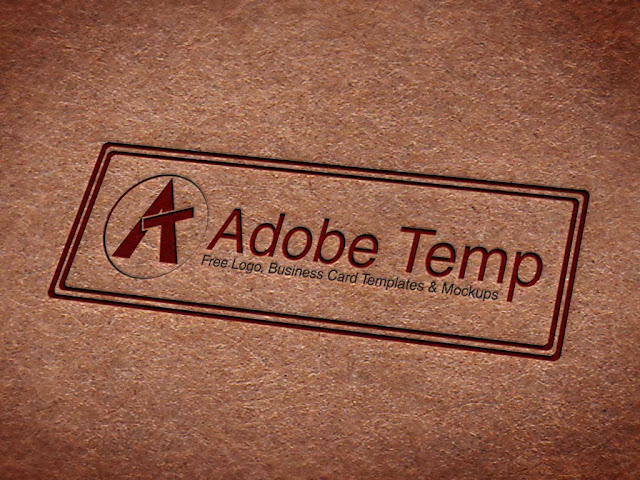
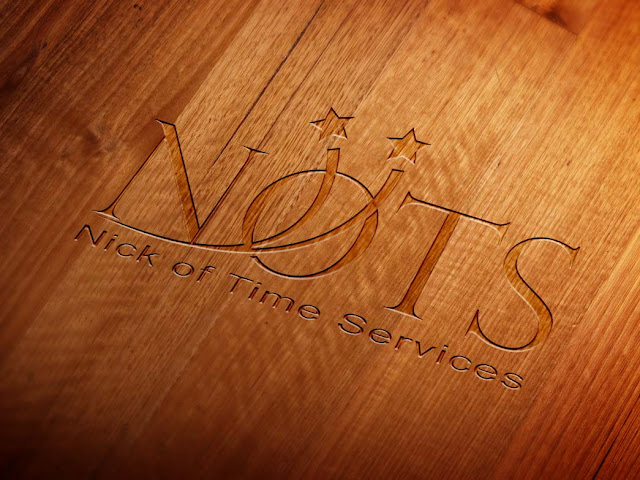
Today I'm going to explain "How to Make a Realistic Logo mockup by using adobe photo shop CS6 or later. So Lets start..
Click here to download.
Open the adobe photo shop and drag the downloaded image and put it in to photo shop window.
Then create a new layer draw a square selection by pressing M in the key board.
Then double click on the smart object layer. Now you have a new window. Go to the Layer palate in this new window, again drag and drop the provided png image to this window.
Save it and close the new window. Go to the previous window again.
Bevel and Emboss parameters
Now we have to create clipping mask. For this click on the back ground layer and press "ctrl+j" for a copy of back ground. Then click and drag it to top of the layer pallet. Make sure it's stay on the new layer. Then right click on the back ground copy and choose create clipping mask option. Now you can see big change on our mockup. Now your logo also see like a metallic texture.
backgroundcpoy to "mask"
new layer to "your logo"
Note - Use video tutorial from below link for more information and more effects and learn to know how can we use them.
Today I'm going to explain "How to Make a Realistic Logo mockup by using adobe photo shop CS6 or later. So Lets start..
Step 1
Download the Metal Surface and Logo image from below link.Click here to download.
Step 2
Open the adobe photo shop and drag the downloaded image and put it in to photo shop window.
Then create a new layer draw a square selection by pressing M in the key board.
Step 3
Right click on new layer and choose "convert to smart object" from the list and hit the "ok".Then double click on the smart object layer. Now you have a new window. Go to the Layer palate in this new window, again drag and drop the provided png image to this window.
Save it and close the new window. Go to the previous window again.
Step 4
Right click on new layer and select blending options and make these changes as bellow images and hit ok .Bevel and Emboss parameters
Outer Glow Prameters
Drop shadow parameters
Step 5
Now we have to create clipping mask. For this click on the back ground layer and press "ctrl+j" for a copy of back ground. Then click and drag it to top of the layer pallet. Make sure it's stay on the new layer. Then right click on the back ground copy and choose create clipping mask option. Now you can see big change on our mockup. Now your logo also see like a metallic texture.Step 6
Now double click on layer names and replace them with following key words.backgroundcpoy to "mask"
new layer to "your logo"
Step 7
Thats it . Go to file menu and choose save as option and save your metallic logo mockup on own location. Enjoy it.Note - Use video tutorial from below link for more information and more effects and learn to know how can we use them.


